Planners are the perfect way to organize your life, but some people who don’t usuaully use planners might find themselves stuck on the basics.
How do you organize your planner to make it work for you?

In this guide, we’ll go through the steps of how to organize your planner so you can make sure you’re setting yourself up for success and not ending up with a heap of messy papers and scribbled out notes in your planner that defeat the purpose of having one in the first place.
ORGANIZATIONAL
MUST-HAVES

This daily planner is a lifesaver when it comes to getting your life in order

Organize your virtual life using ClickUp, which has changed my life!

Try the KonMari method using this book for a whole new outlook on organizing.
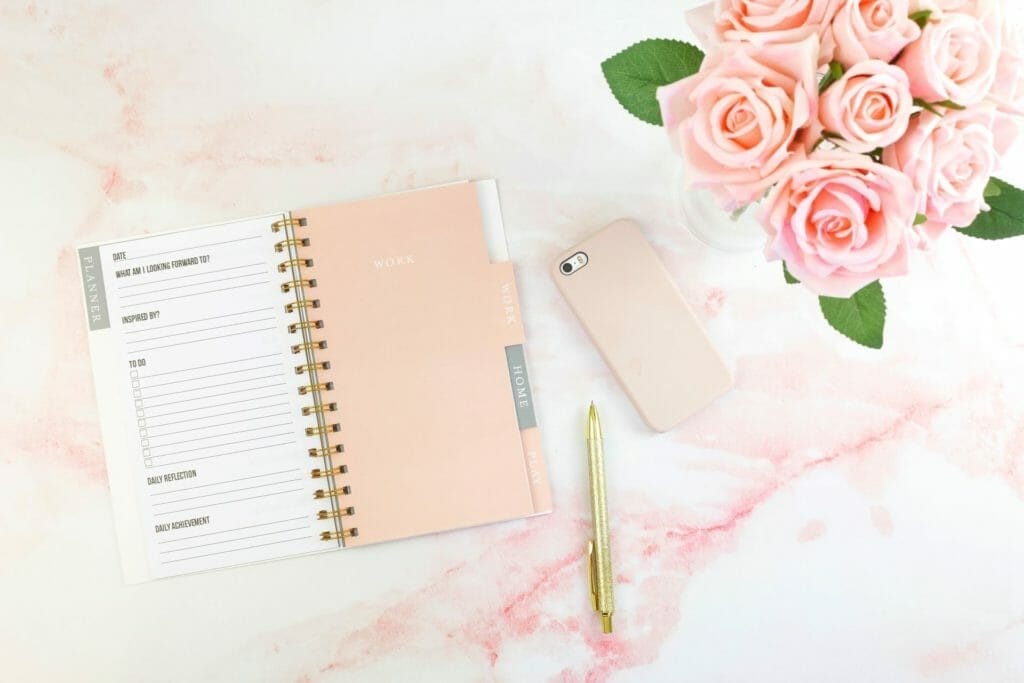
1. Pick a Planner that Makes Sense to You
Not all planners are created equal.
They will already have built-in organizational methods that you should check out before deciding on which one to buy.
Some have boxes for each hour that you can write the task into, others are more calendar style and focus on bigger events, some have a mixture of the two and some may just have a lot of empty lines for you to write to-do lists in.
If you haven’t had a planner before, try purchasing two that use different methods of organization so you can try them both out and decide which one you like better.
You can also create your own planner in a blank notebook, which is what many people do when they create bullet journals.

At the end of the day, no matter your budget or constraints, most people can get access to both a regular calendar (or you can print one out) and a blank notebook, which will be better than storing your notes in Post-Its all over your house.

2. Create One Section for a Running List of Daily Tasks
I always find it useful to have one section for a running list of daily tasks or good habits.
These are the things that you need to check off every day.
It could apply to running the household and be more domestic things like checking the pool filter or mowing the side yard, or this could relate to your schoolwork where you know every day you have to write a reflection on what you read the day before, or it could relate to building your business where you know that every day you need to post on social media, for instance.
You may be doing these things anyway, but you’d be surprised at how much easier it can be if you write them down and get them out of your head.
It also gives you a way to know what you have to schedule your new tasks around and helps you give a fuller picture of what you have to do each day.

3. Create Another Section for Deadlines and Calendar Views
Another section in your planner should have deadlines and calendar views.
Again, this can be on a separate calendar if it doesn’t fit into your planner, but if you’ve got a ballet recital in two weeks time, put it down.
If you have a deadline for your assignment to be in on March 23rd, write it down.
This section is going to help you in the long term, as you can’t organize your days until you know what you’re working towards.
If you know you have 4 days to get your book report done, but 10 days to get your science project done, you’ll then know that you need to prioritize your book report.
It’s also really hard to keep a bunch of deadlines in our brains, even moreso than our daily tasks.

4. Decide on Color Coding if You Need It
Sometimes, you need a way to differentiate things in your planner.
You could have a bunch of tasks for different family members if it’s a family planner, or maybe you have work tasks, home tasks, etc.
A good way to separate these out is to use colors, so you can assign each member of the family a color and highlight their events and tasks in that color.
This works best when you use 3 to 4 colors.
More than that and it can start to become really hard to follow and creating more confusion than is worth it, but try it out and see if it works for you.

5. Plot In All Events and Tasks That You Already Know About
Now that you have a blank planner, you’re going to want to jot down everything that you currently know you need to do or is happening.
Get all the dates down on there in the calendar view, put down all of your daily tasks, appointments, etc.
This can be the most overwhelming bit as you might be pulling dates and tasks from different areas like the notes on your phone or other calendars or just e-mails you have sitting in your inbox.
It’s important to do this all at once though so you can fully transition to your planner being your main organizational source.

6. Get Rid of As Much Extra Paper As Possible
Sometimes, we can create bad habits of using Post-Its and other pieces of paper to organize our life on, and the problem with this is it makes your planner a mess with papers sticking out everywhere, and it’s also easier for them to come unstuck or to lose them.
Try to get rid of as much extra paper as possible and transfer it all into your planner.
If it’s something you can’t do that for, like full instructions for what your kid needs to bring to their gymnastics practice on Tuesday, take a picture of it and e-mail it to yourself so if you do lose it, you haven’t lost the information.
I highly recommend ClickUp if you want to transition your planner to the virtual realm!

7. Every Day, Consult Your Planner and Check Off What’s Done
The final step on how to organize your planner and to stay focused on your goals is to actually use it daily.
If you leave it for a few days, you’ll find that it gets harder to keep up with.
Every day, consult with your planner and check off what you’ve done and put anything new on there.
Doing this day by day will help you organize your life and will make it so that the whole planner isn’t rendered useless as you haven’t touched it in a month.
